💻 Setup your Mac as a developer
My simple yet powerful and beautiful macOS configuration as a developer: terminal, fonts, code editor, screenshot app.
You've just acquired a new MacBook Air, MacBook Pro, iMac, congratulations 🎉! They're plenty of ways to install and configure it. Here I describe how I do it, installing only the needed and latest tools.
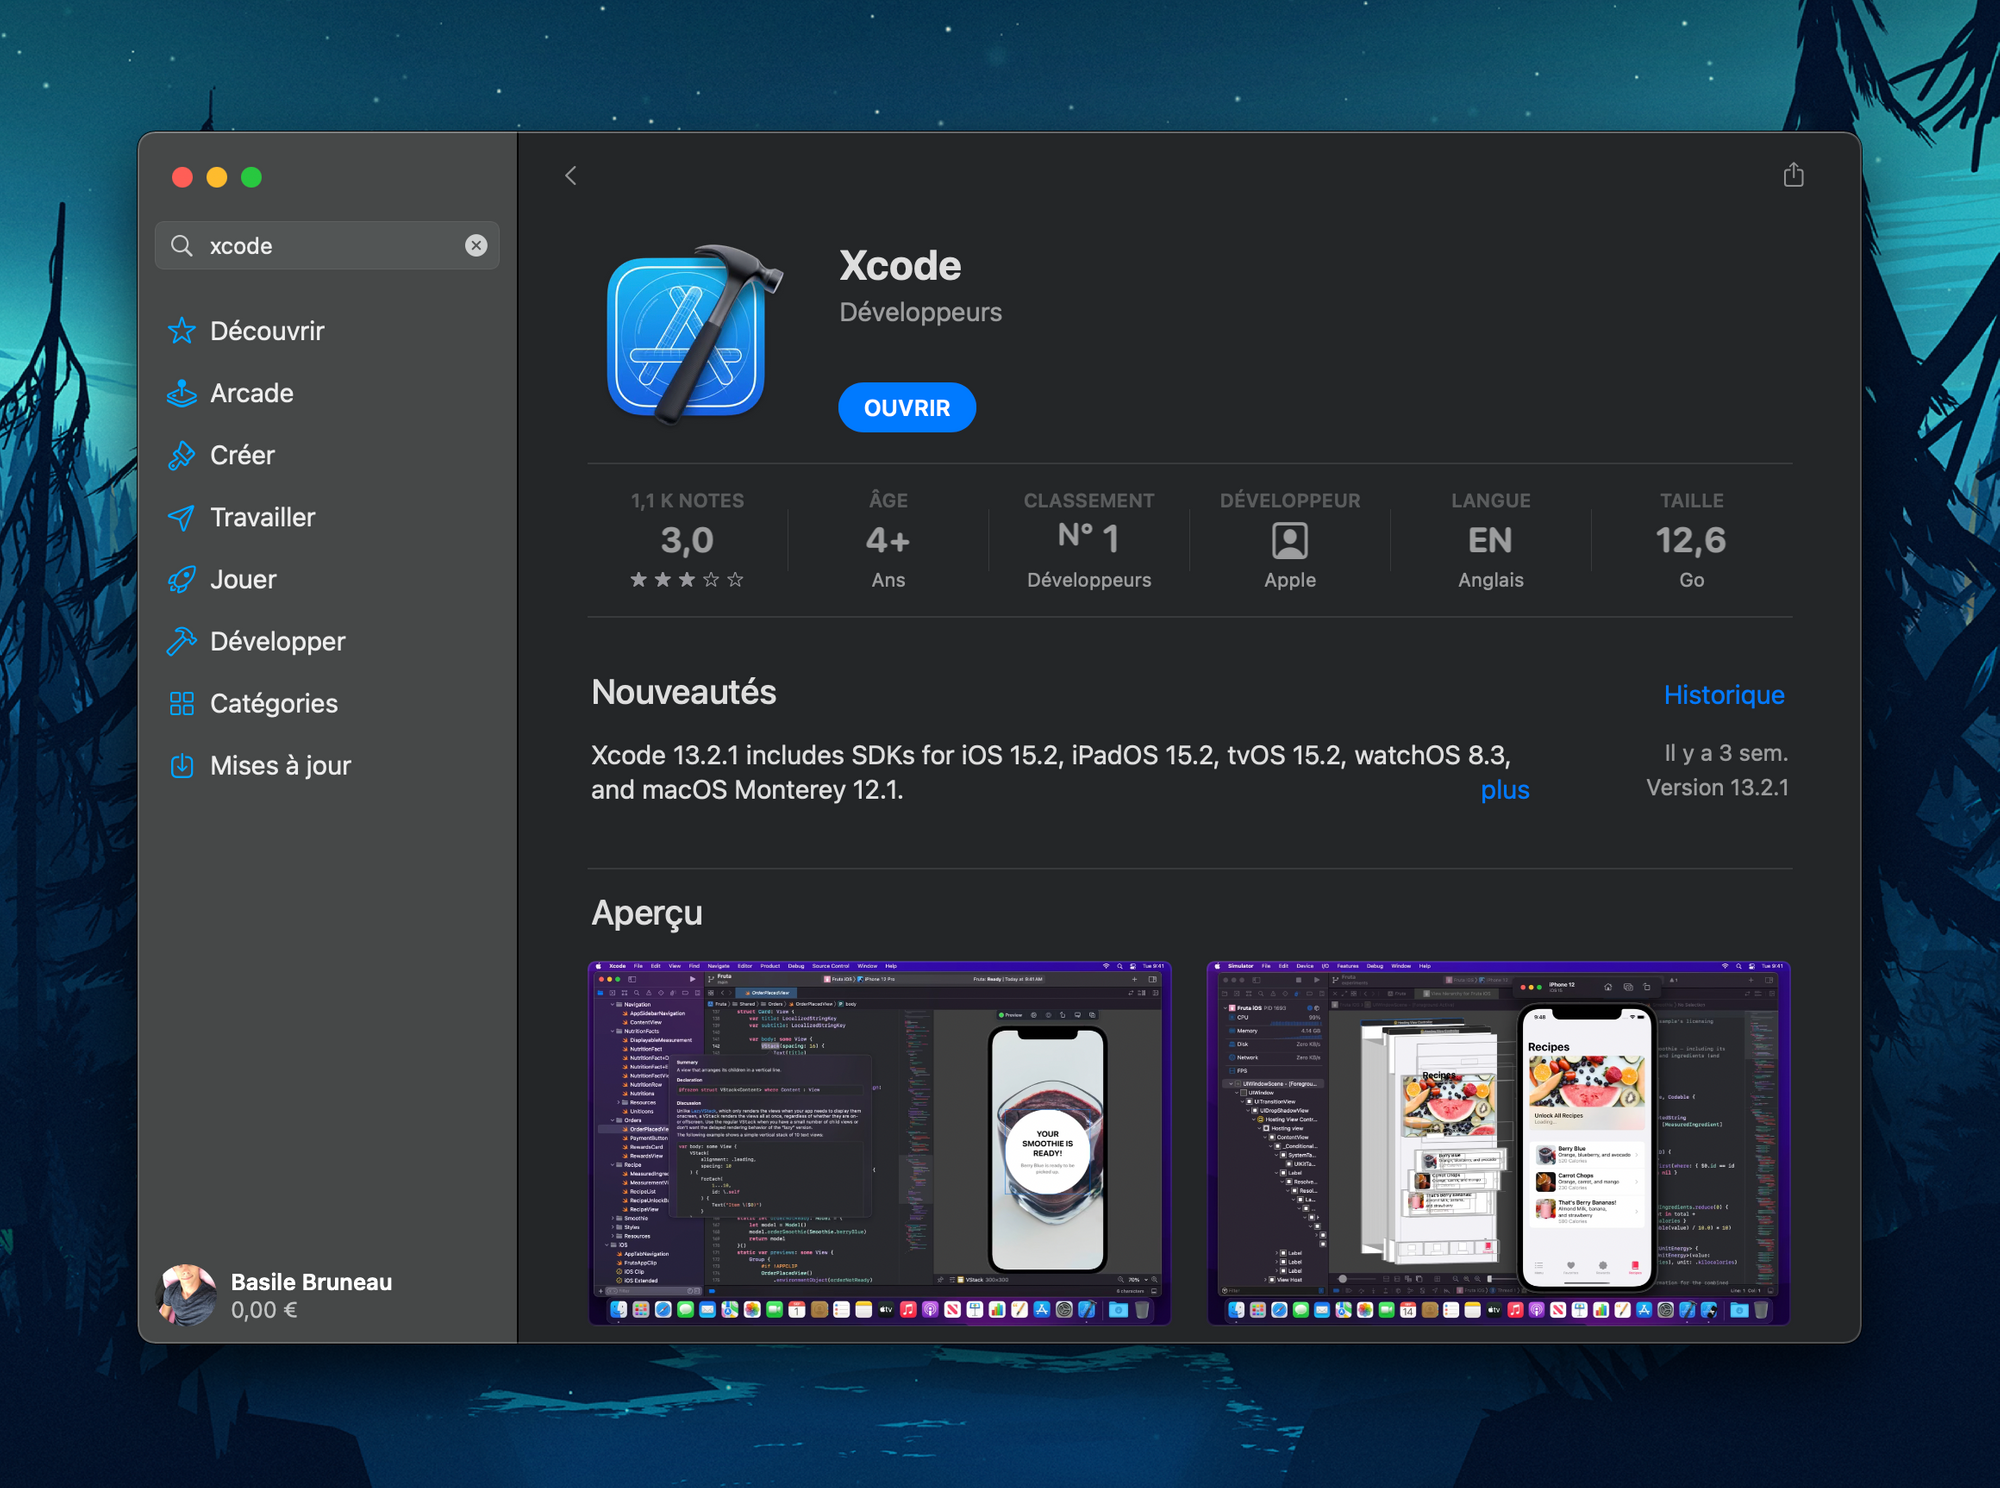
XCode
XCode is required, not only if you plan to do macOS/iOS development, but for all kind of developments, as it comes with libraries and tools allowing to compile things.
Use the Mac App Store to download and install it. It's around 13 GB so it can take a while 😬, but it's very important to do it before going further.
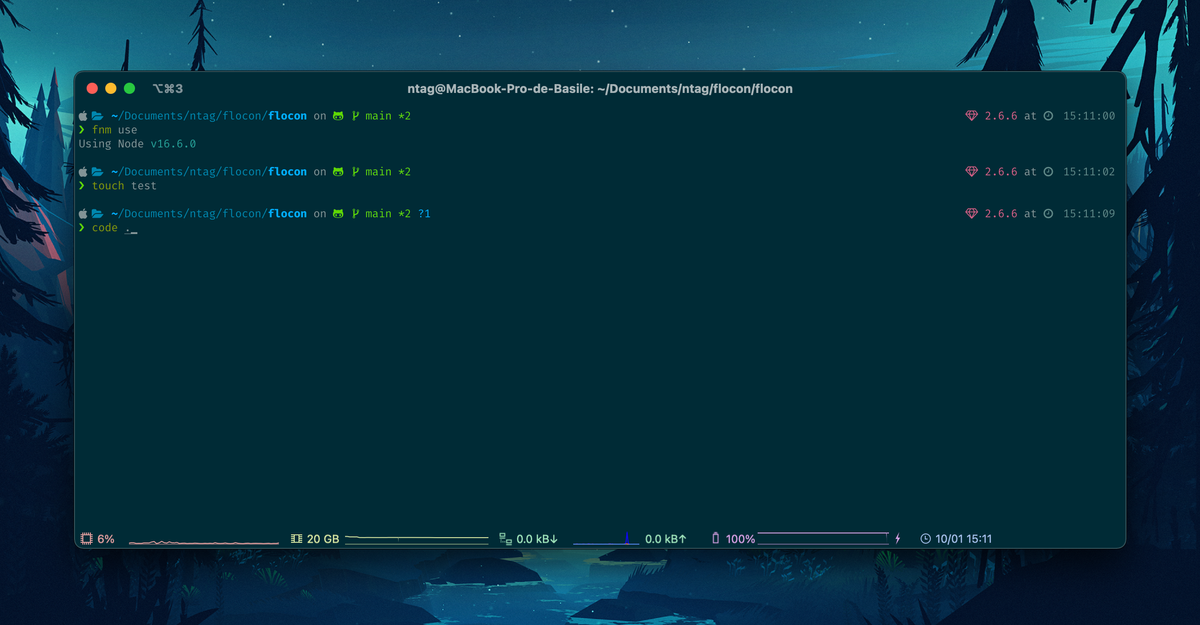
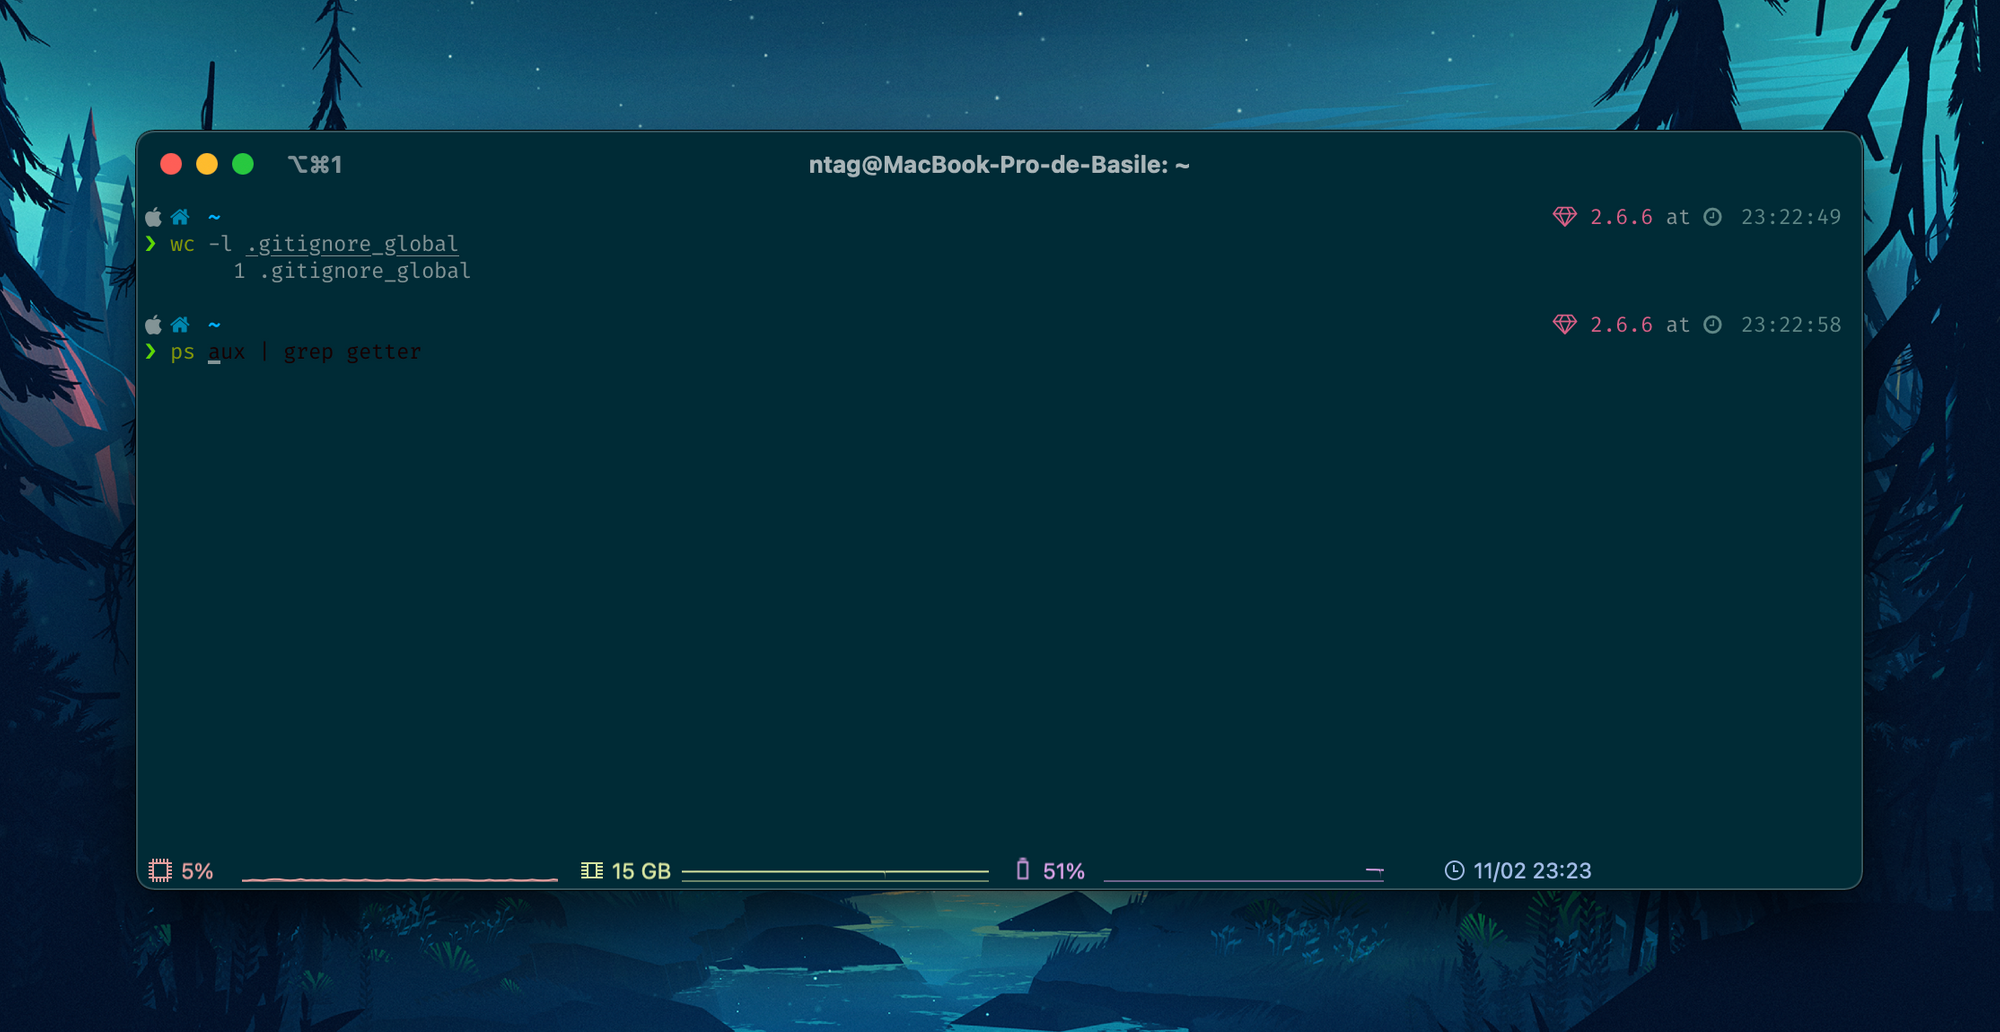
iTerm2
iTerm2 is a better terminal than the default Terminal app integrated to macOS. You can download it from their website: https://iterm2.com
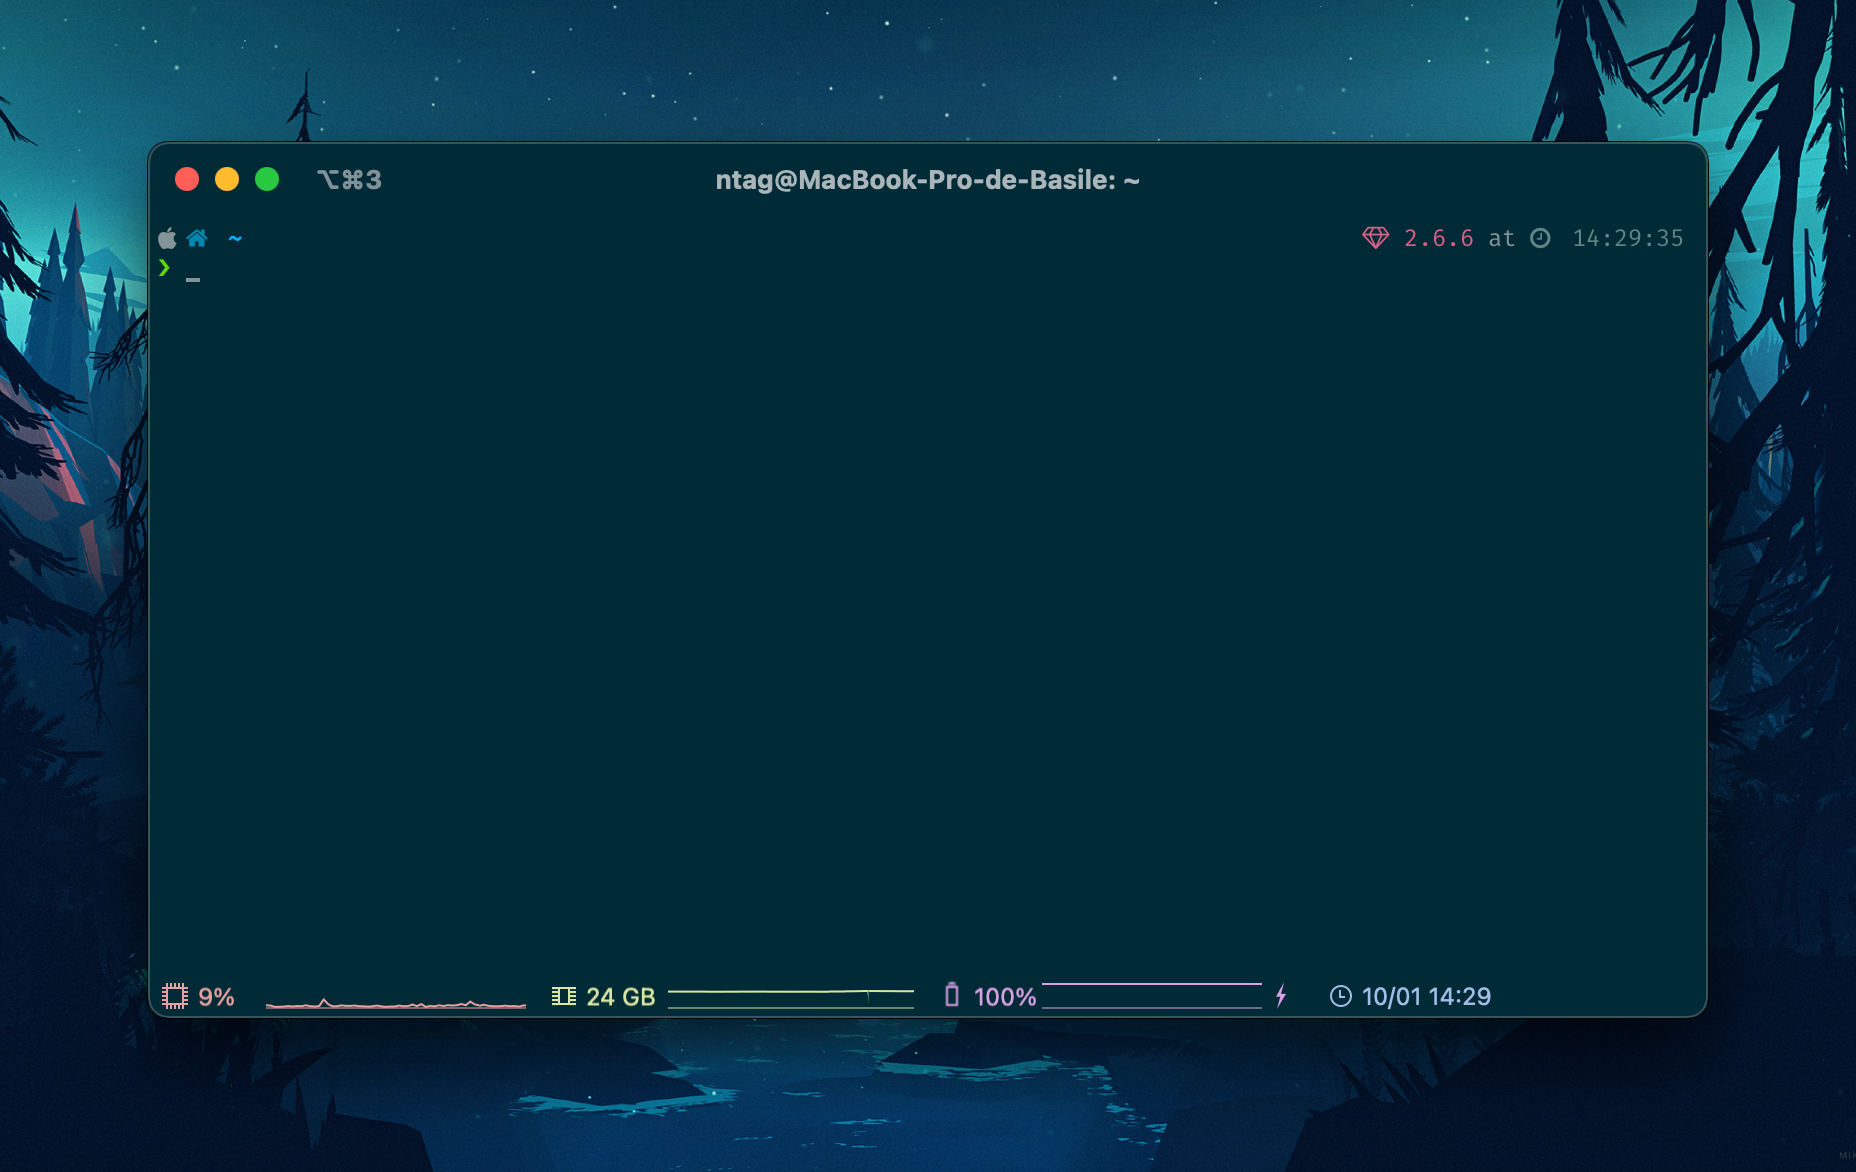
The screenshots below show some settings changes to reach the same setup as I have above.
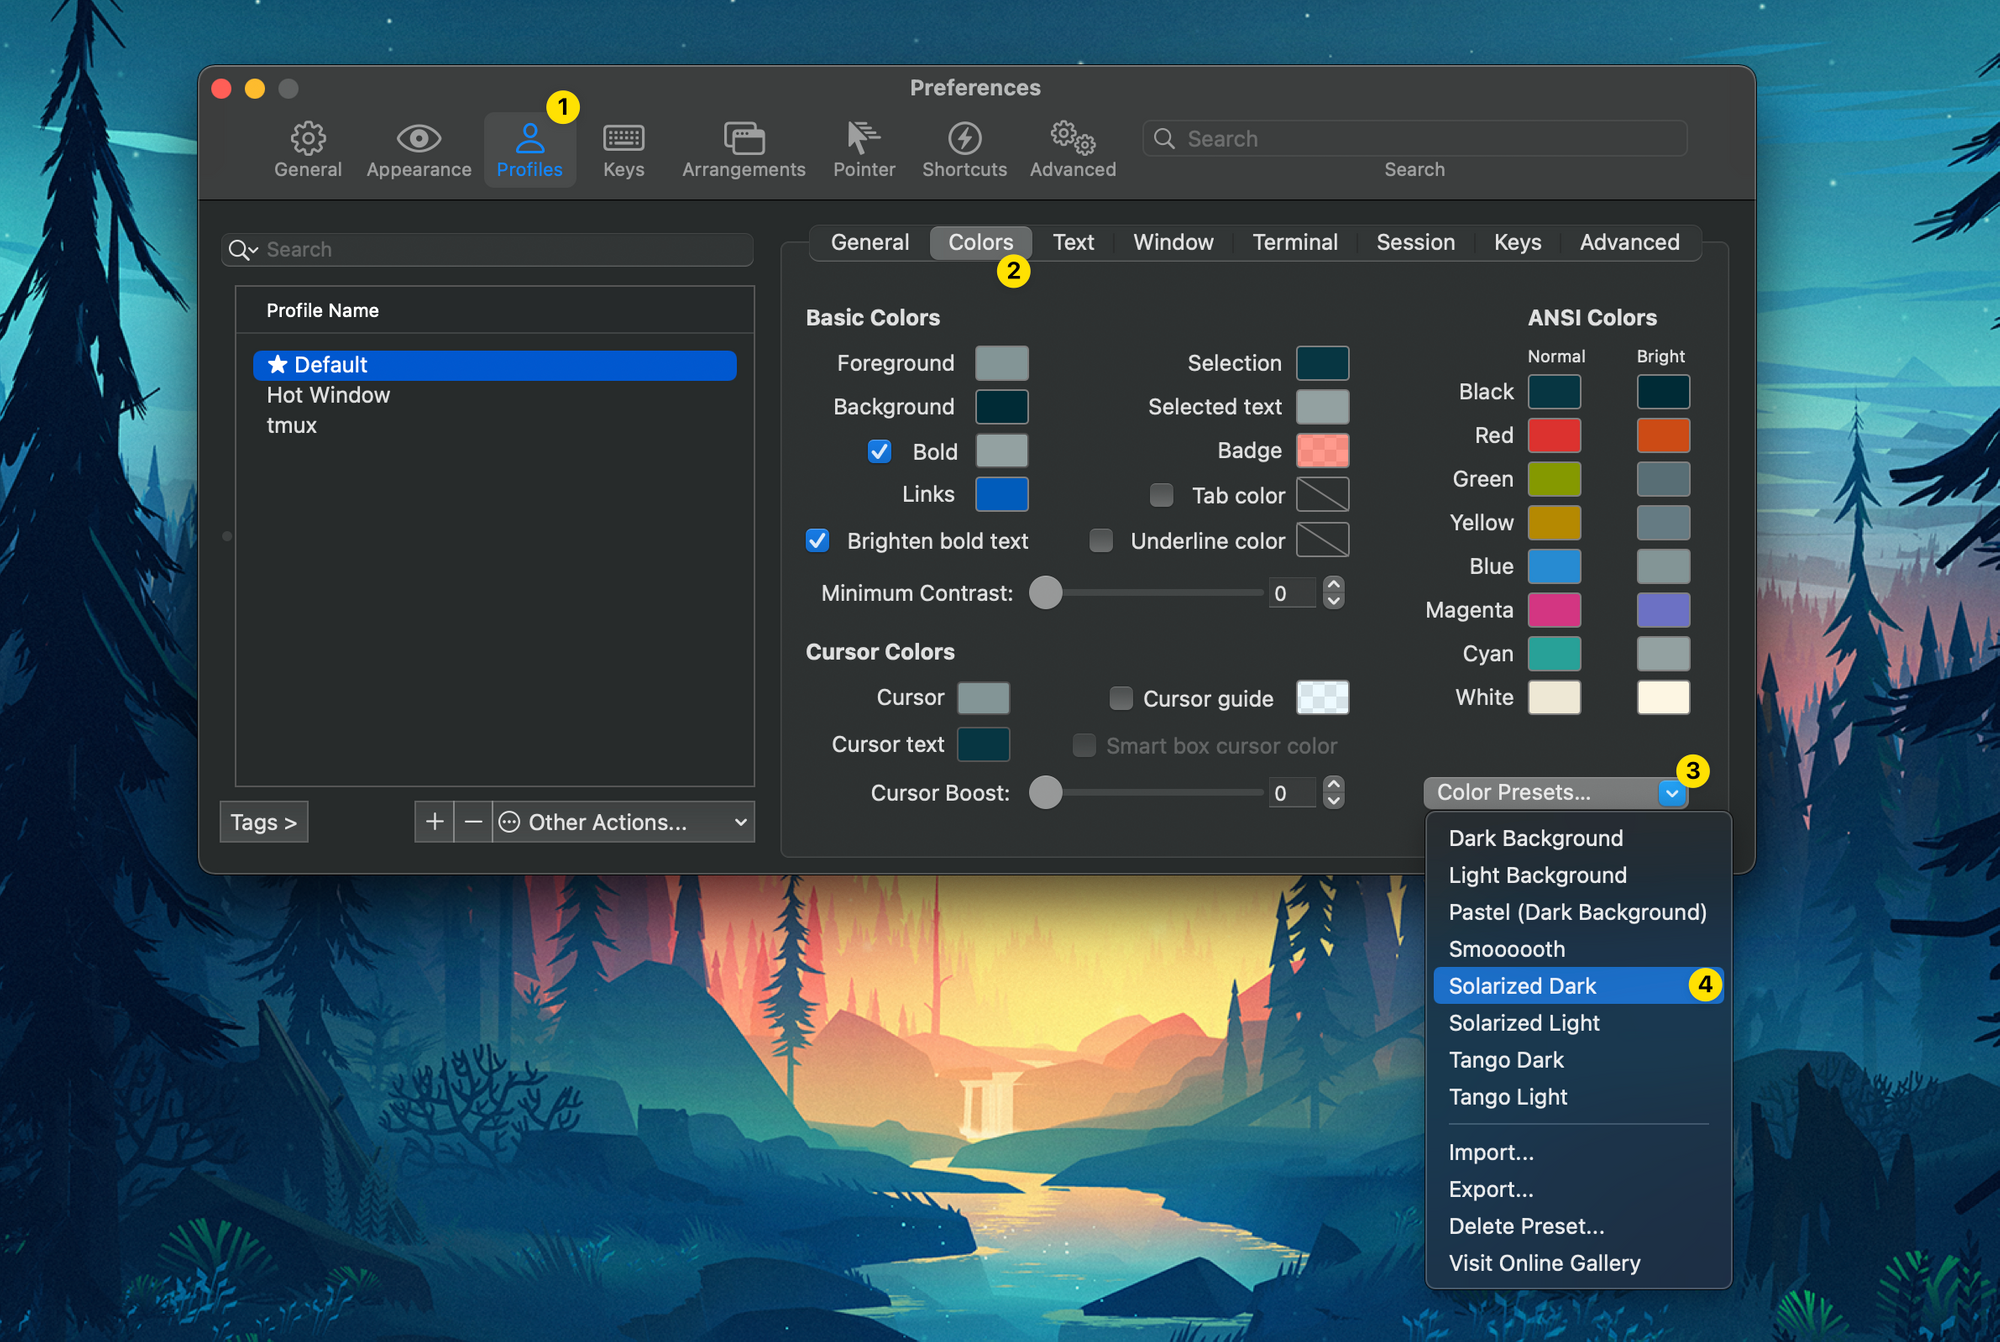
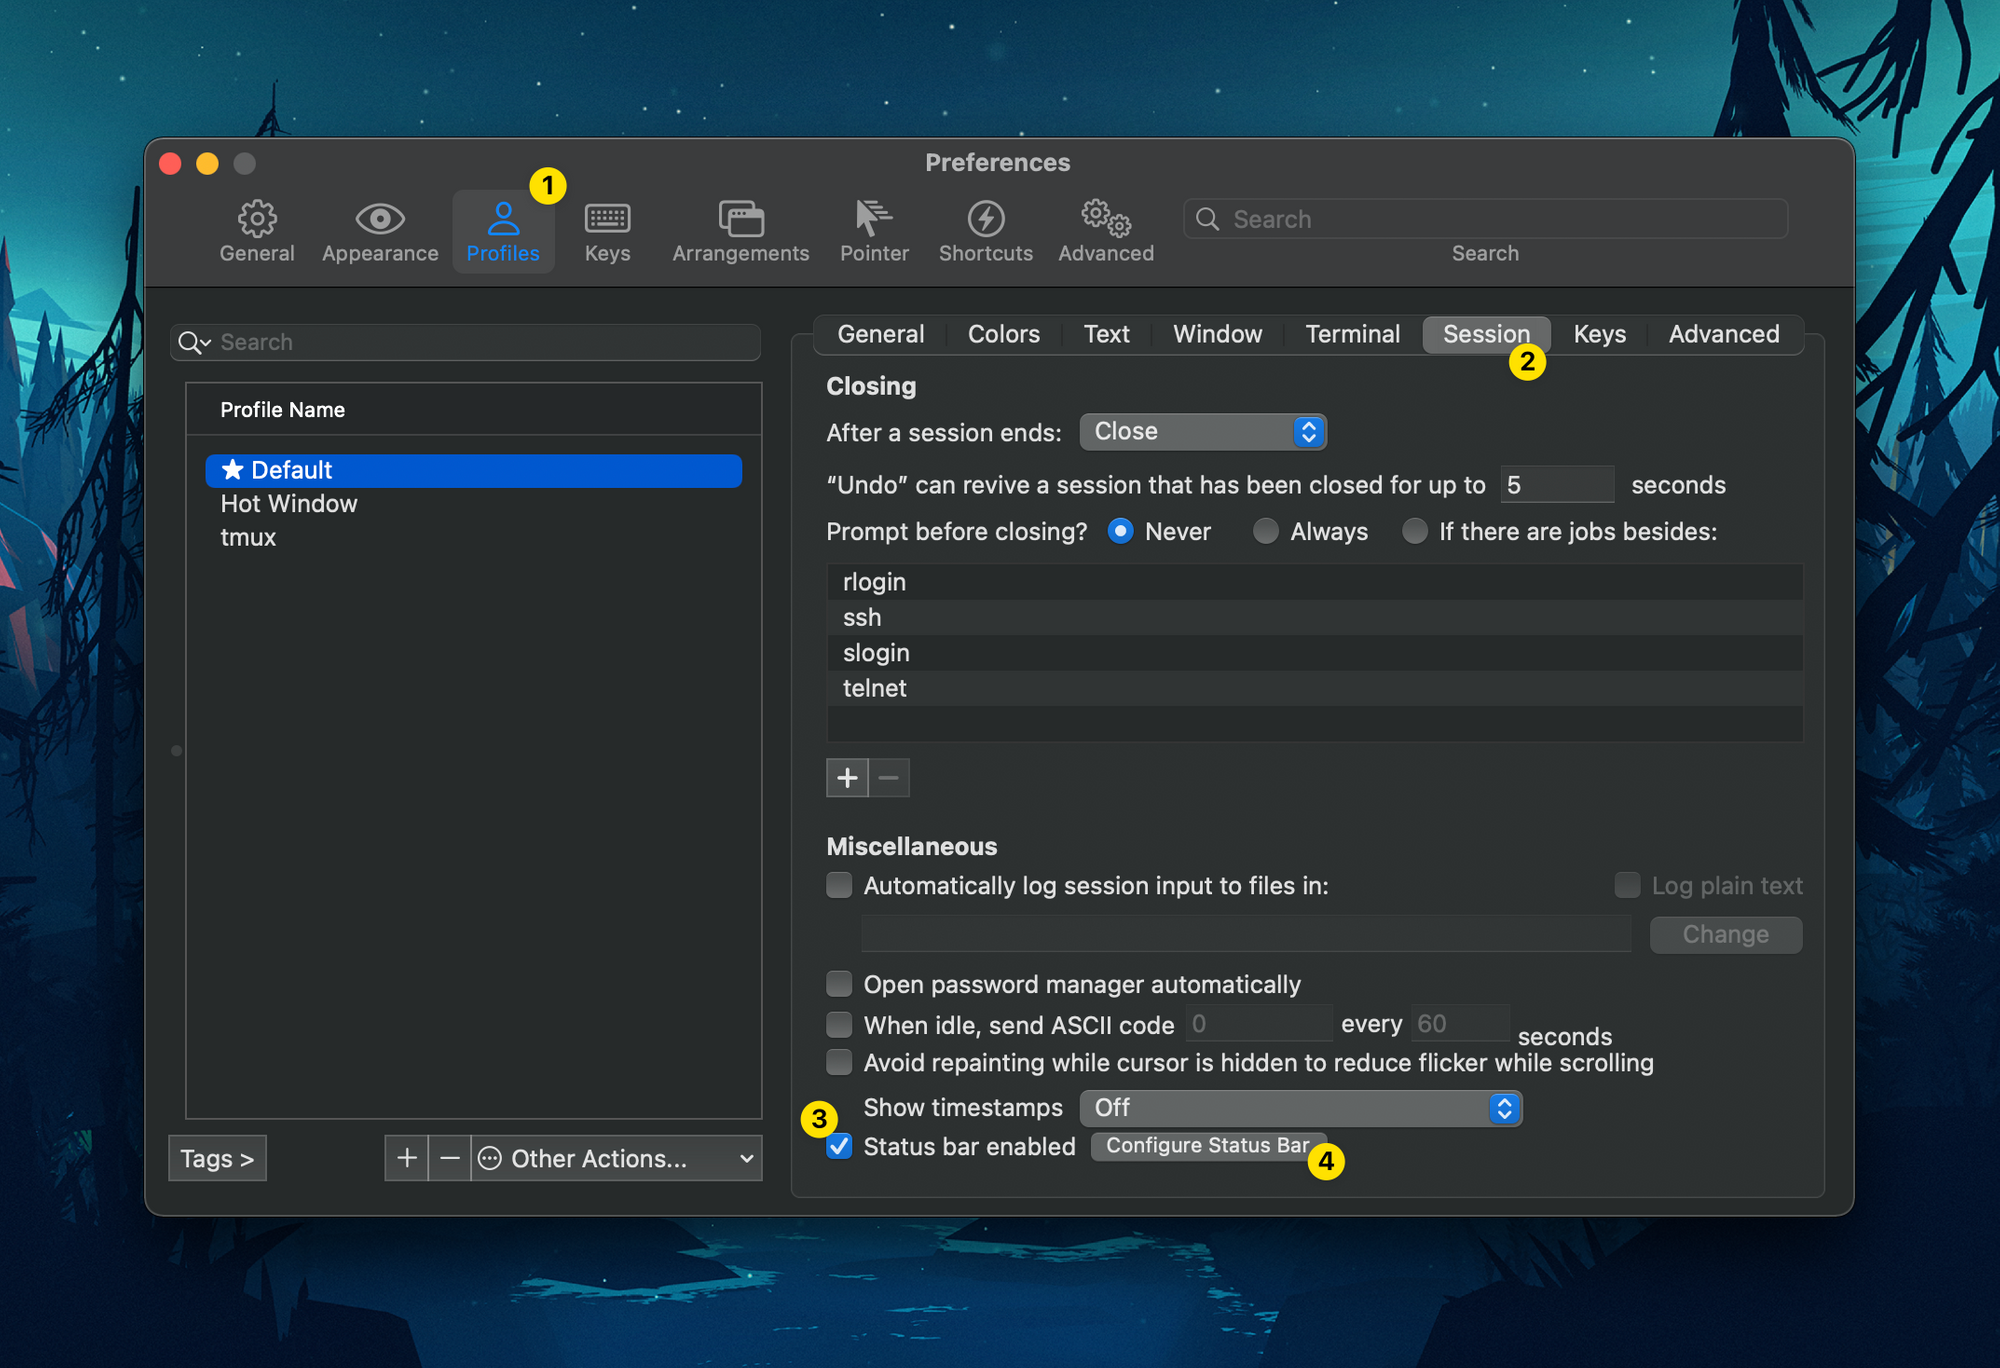
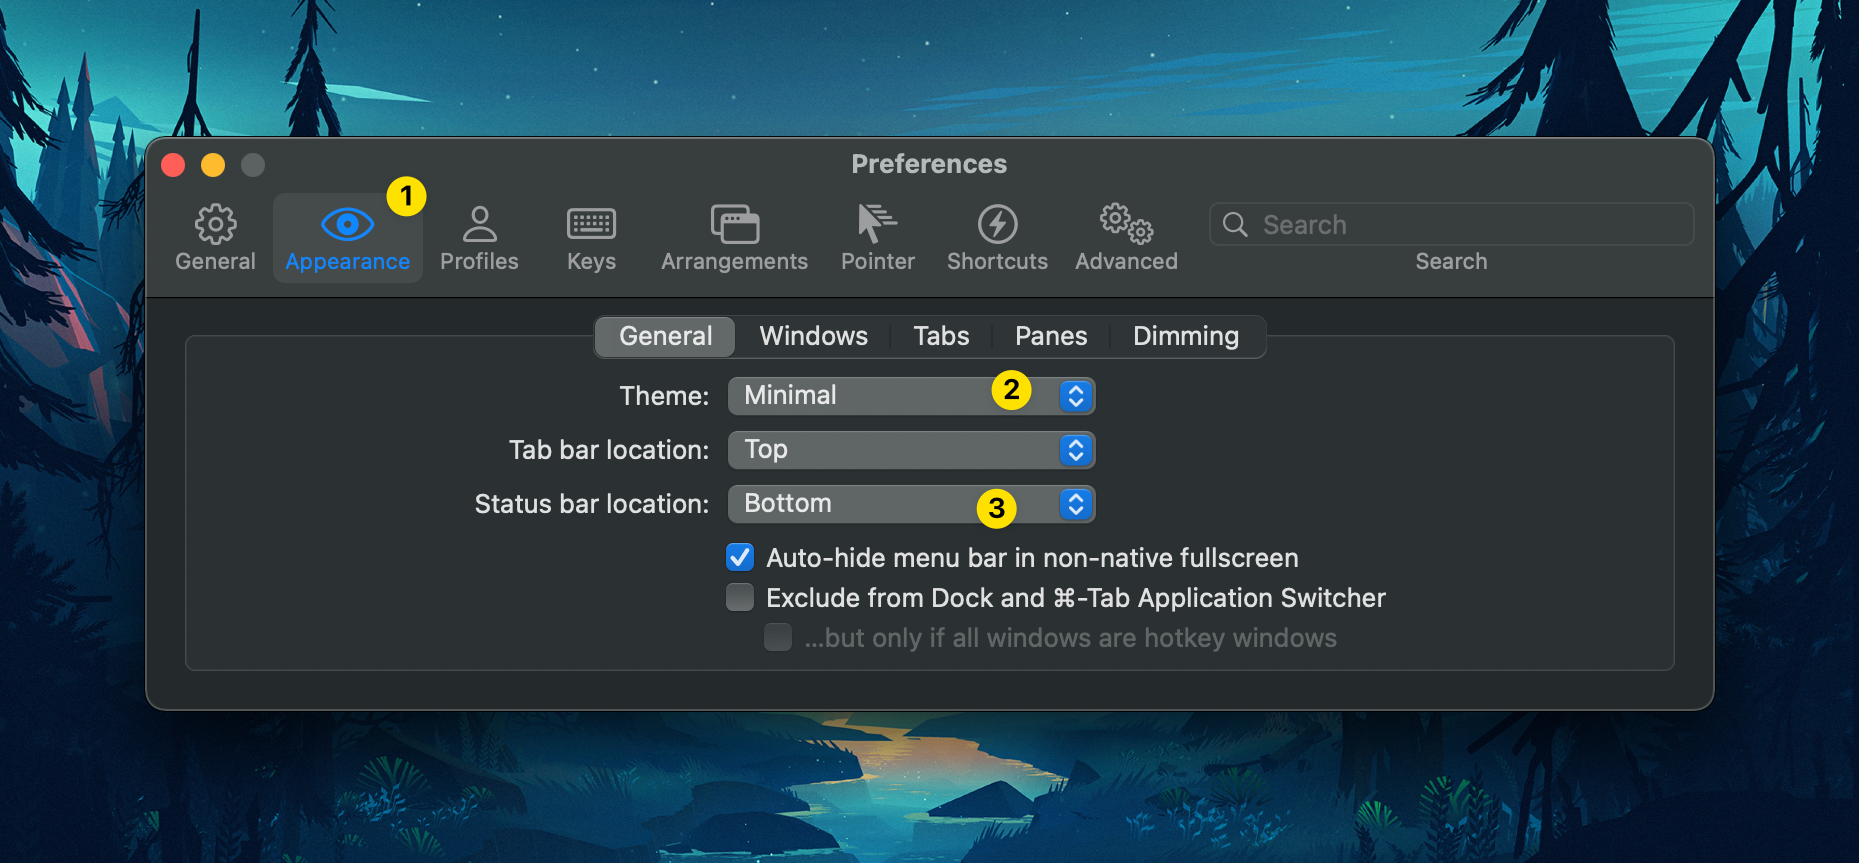
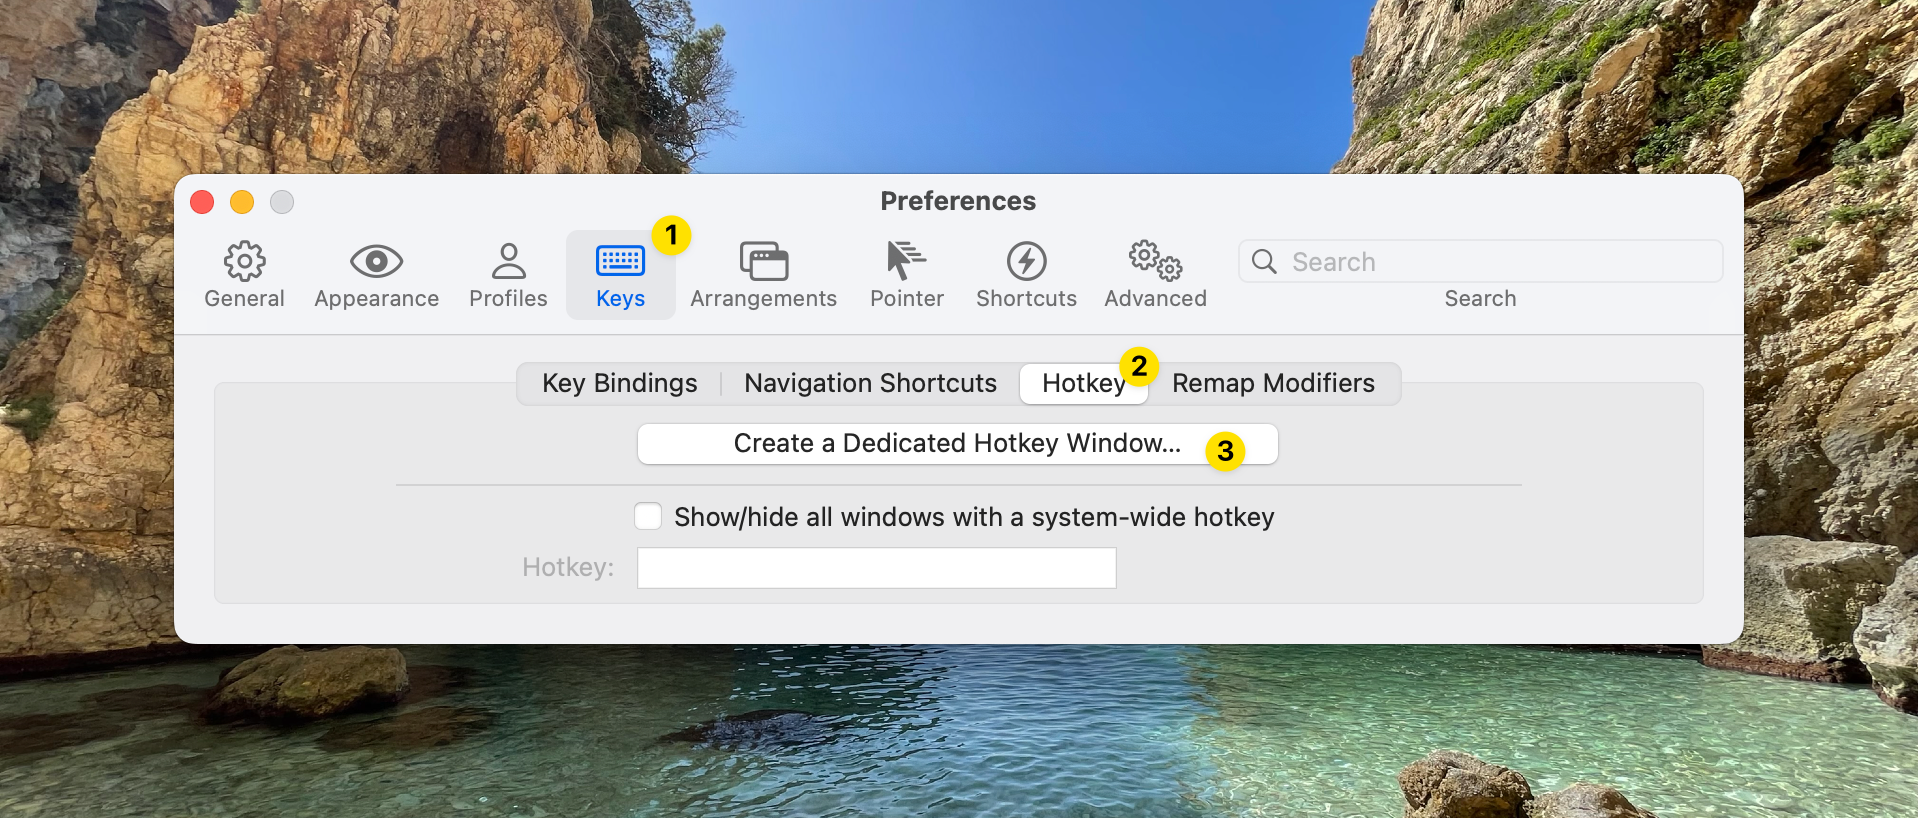
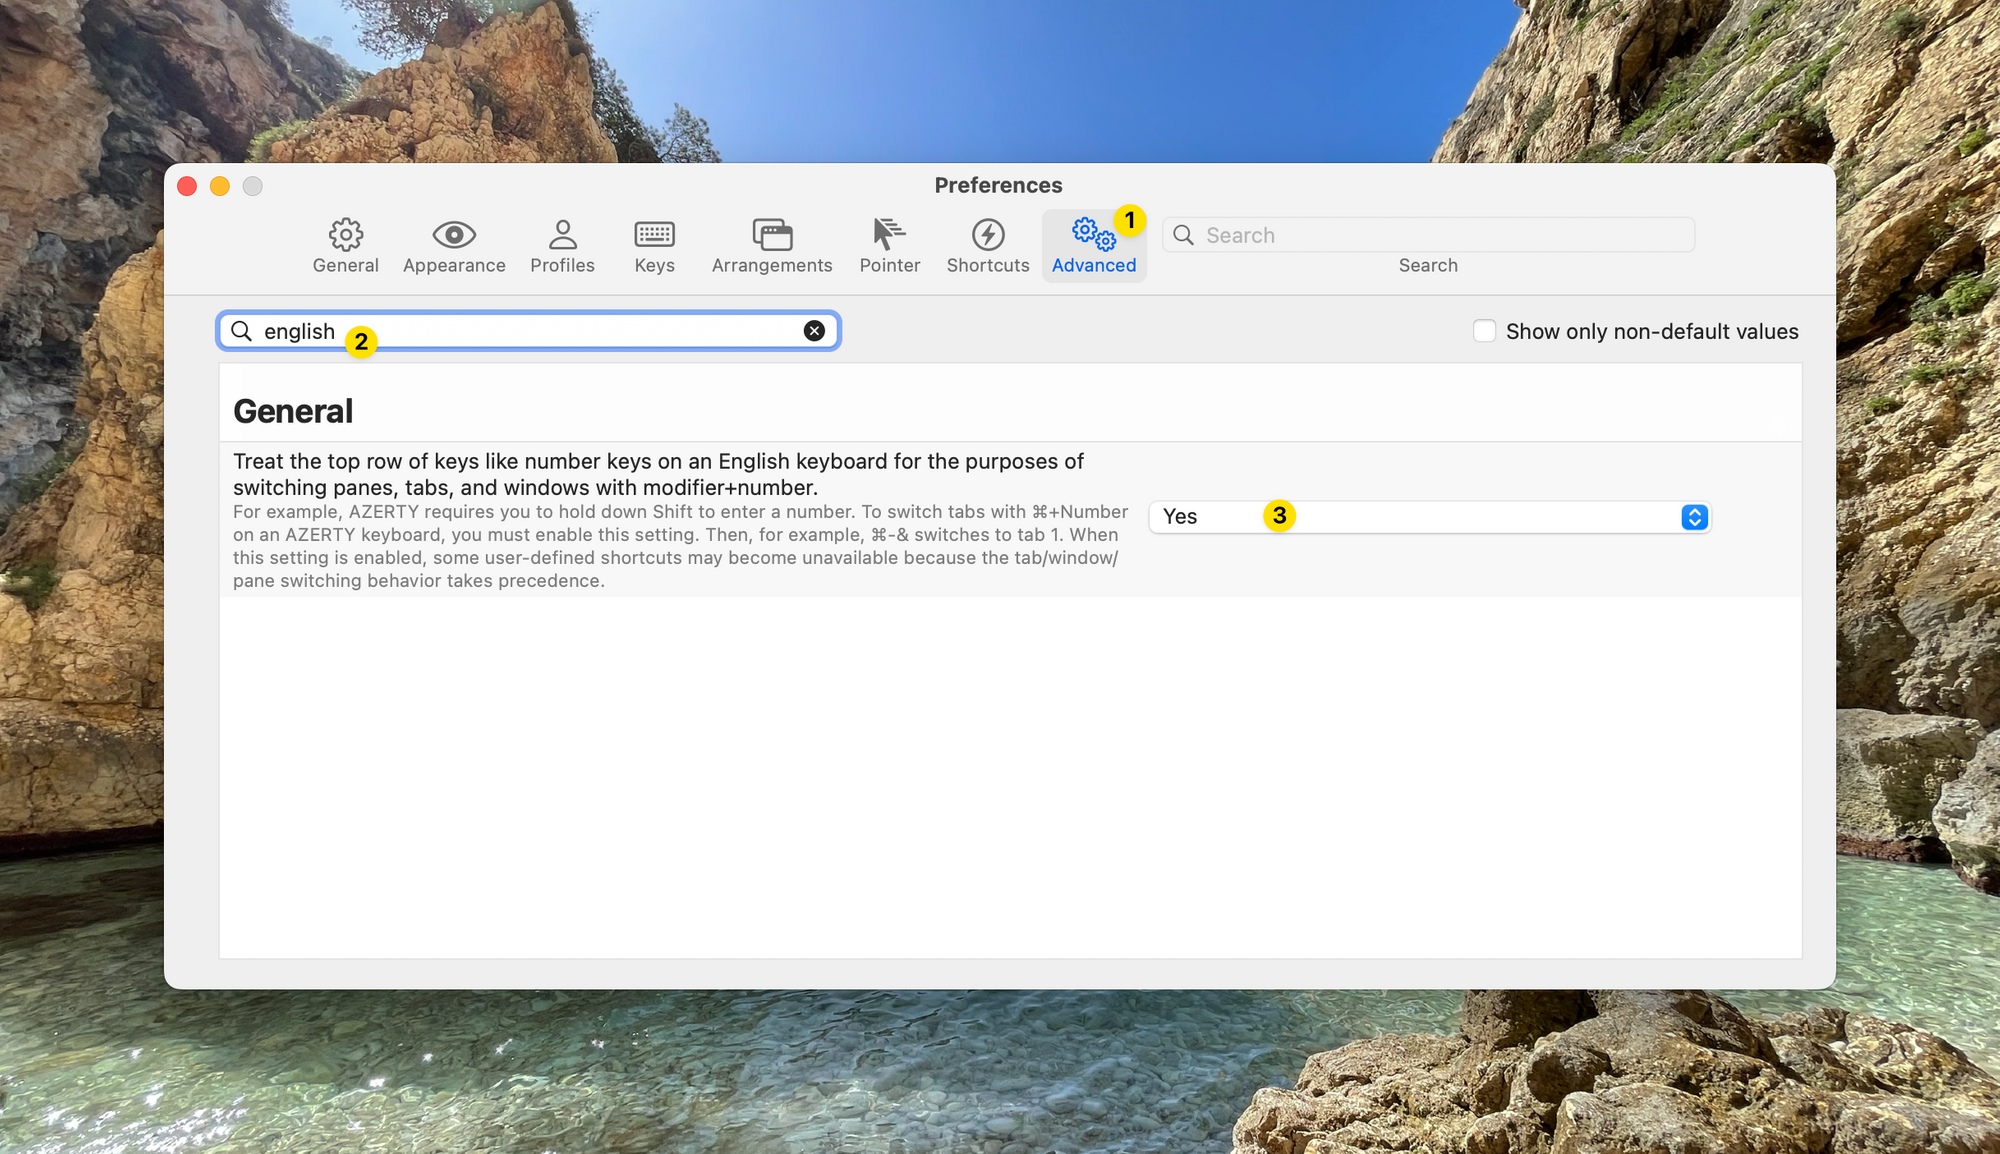
You can also setup a Hotkey Window: for example when I press control + command + W, it opens a floating iTerm window. Last thing, if you have a French keyboard, you'll need to enable an option so you can navigate iTerm tabes by pressing command + 1, 2, 3…
Install Homebrew
Homebrew is a package manager for macOS. It allows to install easily things from your terminal. Think "apt install" for macOS.
To install Homebrew, follow the (very simple) instructions on their website.
Install Oh My Zsh
You'll usually hear that Oh My Zsh is a plugin manager for Zsh. It's true, but it's only part of the story: it also brings improvements to Zsh, like the ability to select an option in suggestions by pressing tab twice. Without Oh My Zsh you won't have this. And it's only one example.
So I recommand you install it via their Github.
Install Zsh theme: Powerlevel10k
Powerlevel10k is a complete and beautiful Zsh theme, that has a super-easy auto-installer. Just follow the instructions on their Github, and it'll install the required fonts, update iTerm2 settings and ask you a couple questions to configure the theme as you like.
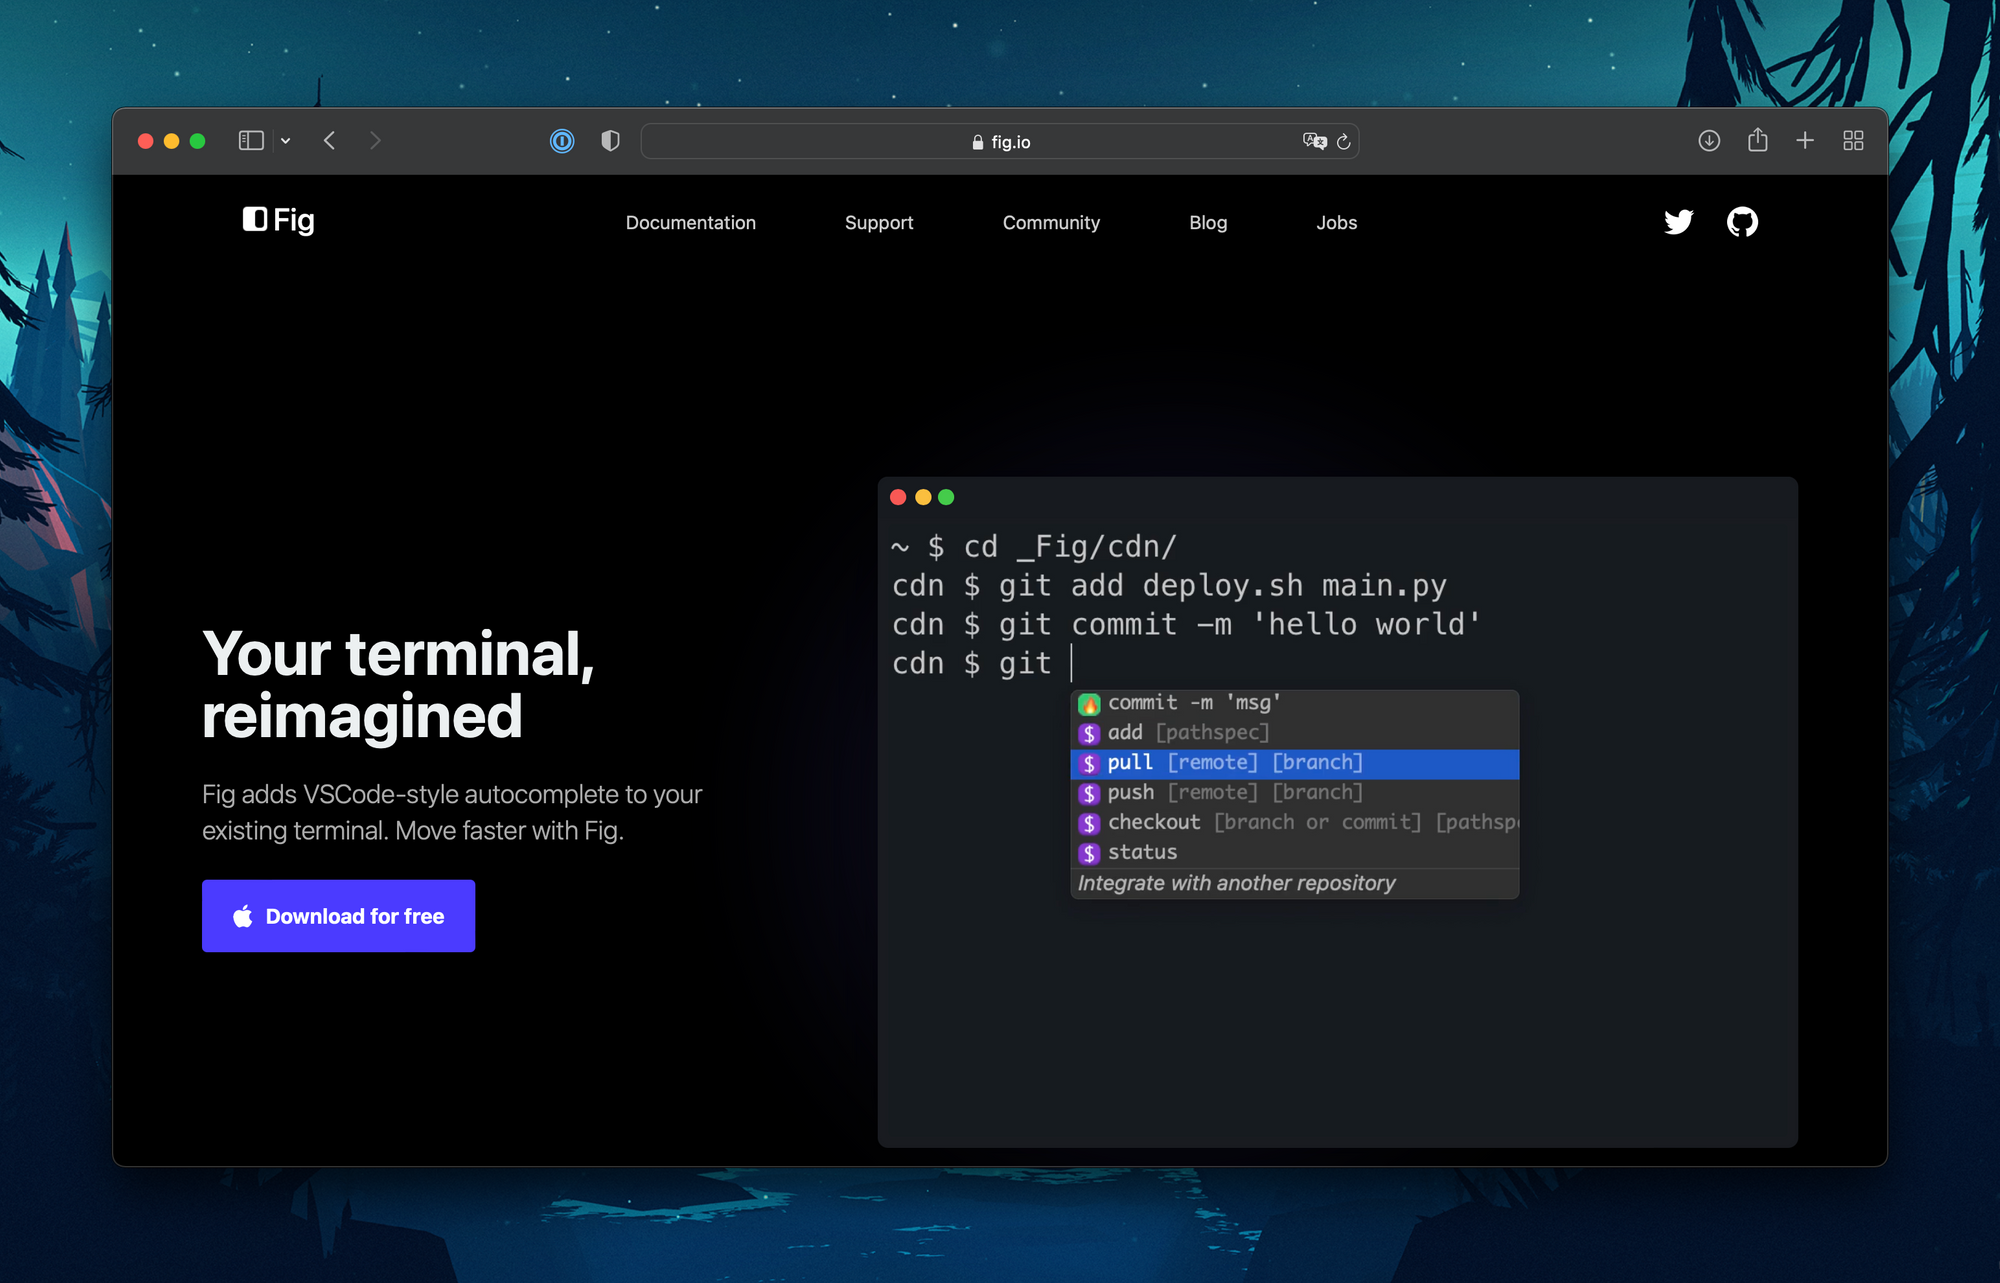
Install Fig (optional)
Fig adds futuristic and intelligent auto-complete to your terminal. Just download it from their website and follow the instructions during the installation.
Alternative: install Oh My Zsh plugins
You can install zsh-autosuggestions and zsh-syntax-highlighting to get similar features to Fig, but directly as Oh My Zsh plugins.
Install NodeJS
For Node, I recommand using the versions manager fnm. It's written in Rust so it's super fast and light, supports .nvmrc files and will allow you to use NodeJS without installing it globally.
The instructions are on their Github.
Install VSCode
Visual Studio Code can be downloaded from the official website. Follow carefully the instructions to install also the code command in the terminal.
Inside VSCode, I use the beautiful font Fira Code. The instructions to install the font and configure VSCode are on their Github.
The must-have extensions to me are: GitLens, Prettier, GitHub Copilot. The theme I used is GitHub Dark.

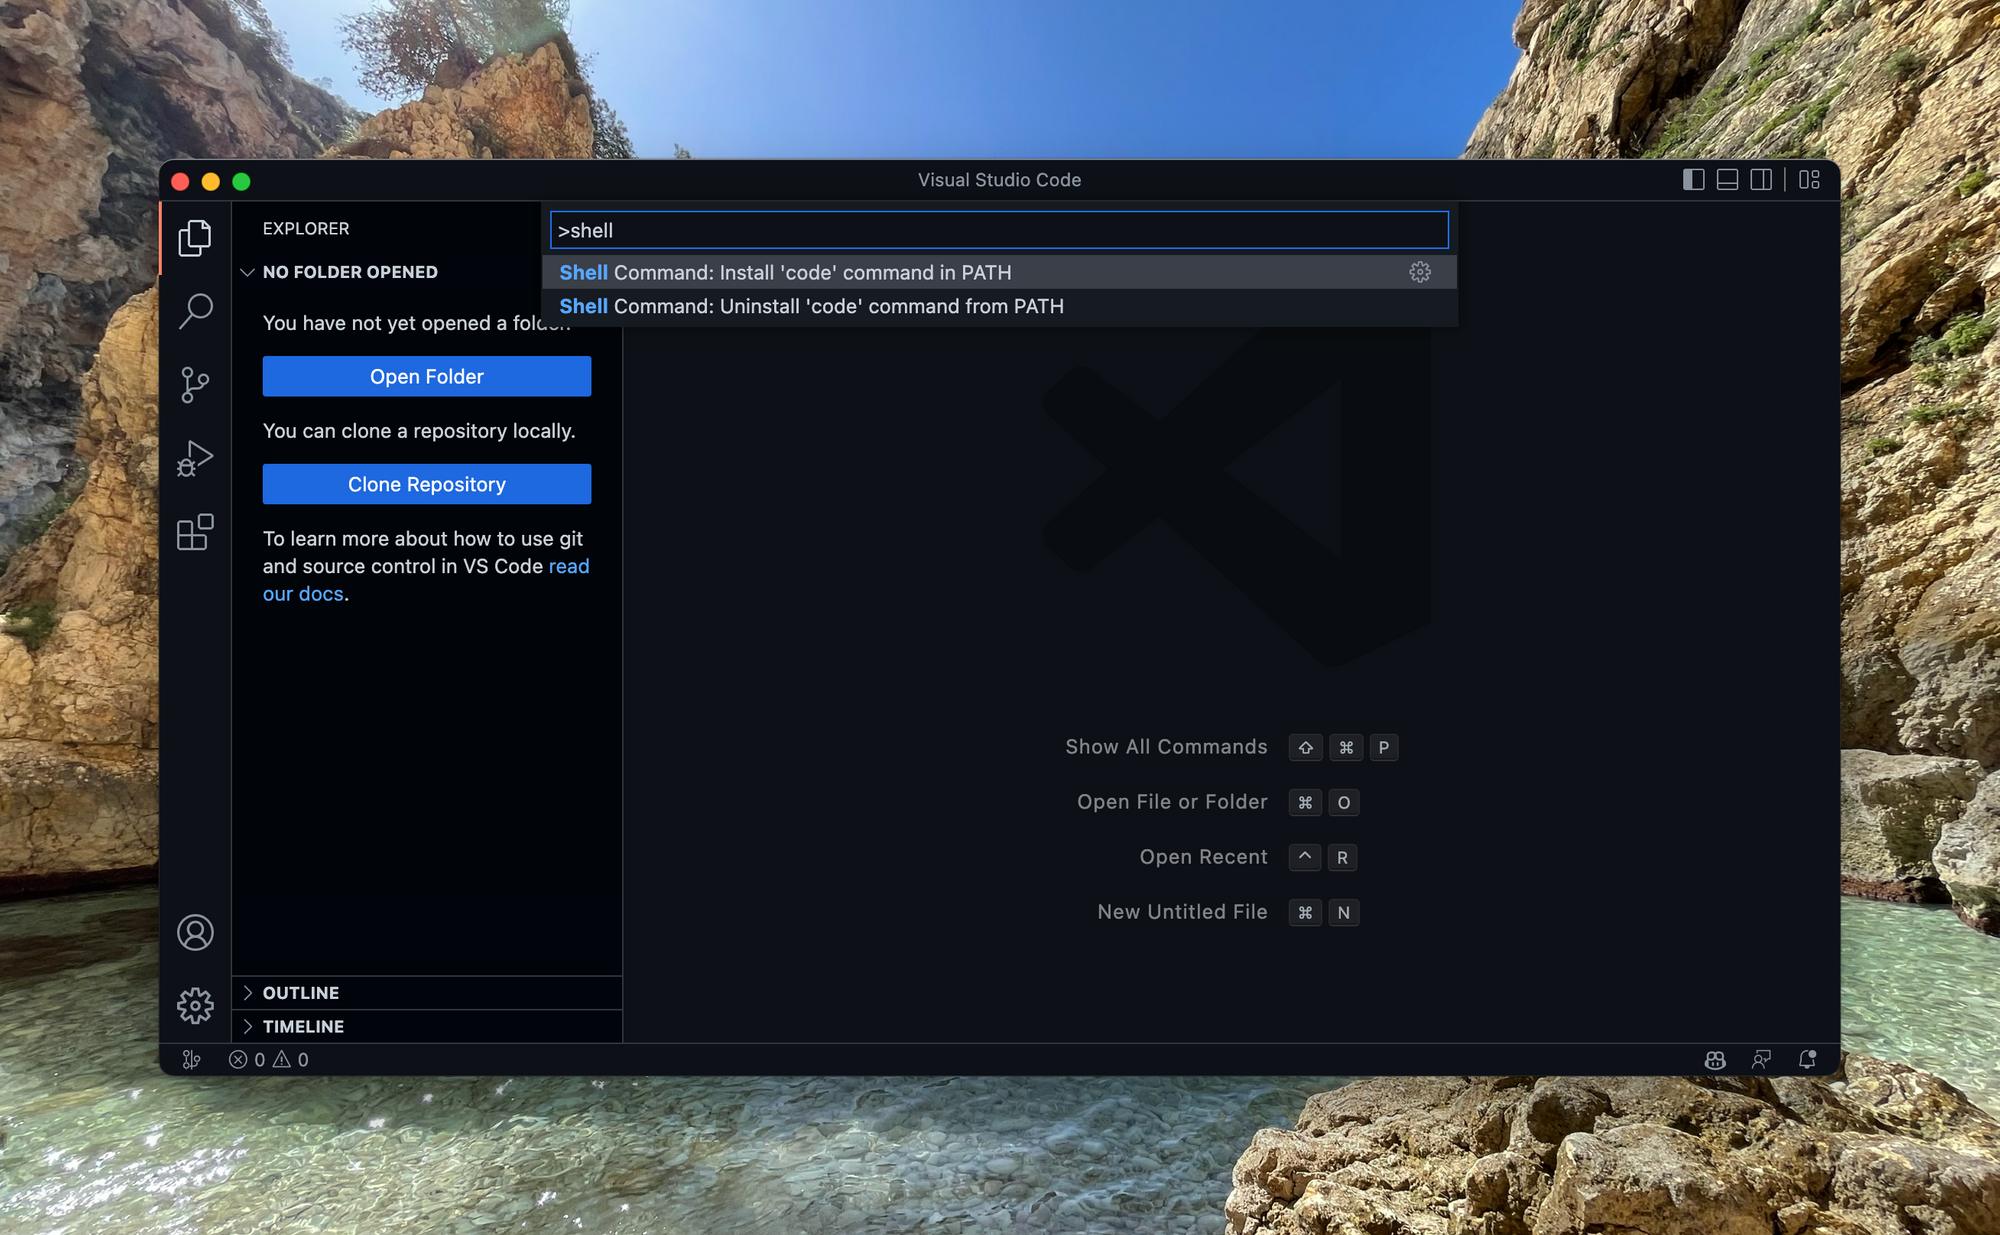
One very handy thing is to be able to type "code ." or "code thisFolder" in your terminal to open the folder in VSCode. For this, press command + shift + P in VSCode and search for Shell:
git aliases
I like to configure the following git aliases:
git config --global alias.co checkout
git config --global alias.br branch
git config --global alias.ci commit
git config --global alias.st status
git config --global alias.cp cherry-pick
At this point, you should have a nice and robust setup.
Happy coding! 👋
Other apps you may find useful
- Alfred: a replacement for Spotlight, allowing to open apps, search into your files and contacts… A must-have!
- CleanShot: to take clean screenshots, annotate them, save them in the cloud, record your screen… All screenshots in this article have been taken with CleanShot. The most well spent $29 of your life.
- Notion: what else 💁♂️
- Spark: a very clean and powerful email client, supporting multi-accounts, with features like scheduled update, reminders if no answer…
- Todoist: my todolist favorite app
- WhatsApp: so handy once you joined the multi-devices bêta